It’s been a while since I posted anything on the blog. We have done a few projects which I need to
get posted. The biggest one which will
be blogged about first is the addition.
After long debate we decided to add on to the house instead of buying a
bigger house. This made financial
sense. Since I would do most of the work
myself we would save a ton of money versus buying a newer, bigger house. The housing market in my area was and still is experiencing
a shortage of homes for sale which obliviously inflates the prices. The other reason we chose to do the addition
is that we love our neighborhood. We didn’t
think we could find one that would match our current happiness.
Addition details:
We decided the main things we wanted were a larger kitchen
and a first or second floor laundry. After finding that moving the laundry from the
basement to the 2nd floor would be too difficult, we decided to
include a laundry room in the addition on the first floor. The addition basically bumps out the majority
of our back wall 8ft. Our total SF (not
including finished basement) before the addition was ~2323. After completion of the addition our total SF
is ~2650.
Here is the layout:
I wanted to provide some pictures we used as inspiration for
the design:
http://www.houzz.com/photos/247957/Craftsman-Charm-transitional-kitchen-los-angeles
http://www.houzz.com/photos/209764/Ackerly-Park-~-New-Albany-Ohio-traditional-kitchen-other-metro
http://www.houzz.com/photos/382924/Kitchen-Transformation-farmhouse-kitchen-burlington
After we had the layout down I went ahead and submitted a permit application. This was actually easier than I thought it would be. I performed the project as a homeowner builder and did not hire a contractor. This made the permit process easier and I believe less expensive. The permits cost me a total of $500. The permits I needed to pull were - electrical(3), building, and plumbing. I also had to provide an energy model showing which types of insulation and windows I would be installing.
In this post I will share pictures of the first activities. The first thing I had to do was relocate the underground electrical service to the house. The existing meter and service were located on the wall that I had to demo, thus the reason I had to relocate it. I contacted the electric utility and had an onsite consult. I learned that I would have to do most of the work to relocate the service. They only pull the new wire from their pedestal to the meter and disconnect panel. They also relocate the meter from the old location to the new. They charged me $800 to pull and terminate the wire! I had to rent an excavator, excavate a new trench, install 2-3" conduits, and backfill. I had an electrician friend install the new panels and sockets. Here are some pictures:
Back of house before addition:
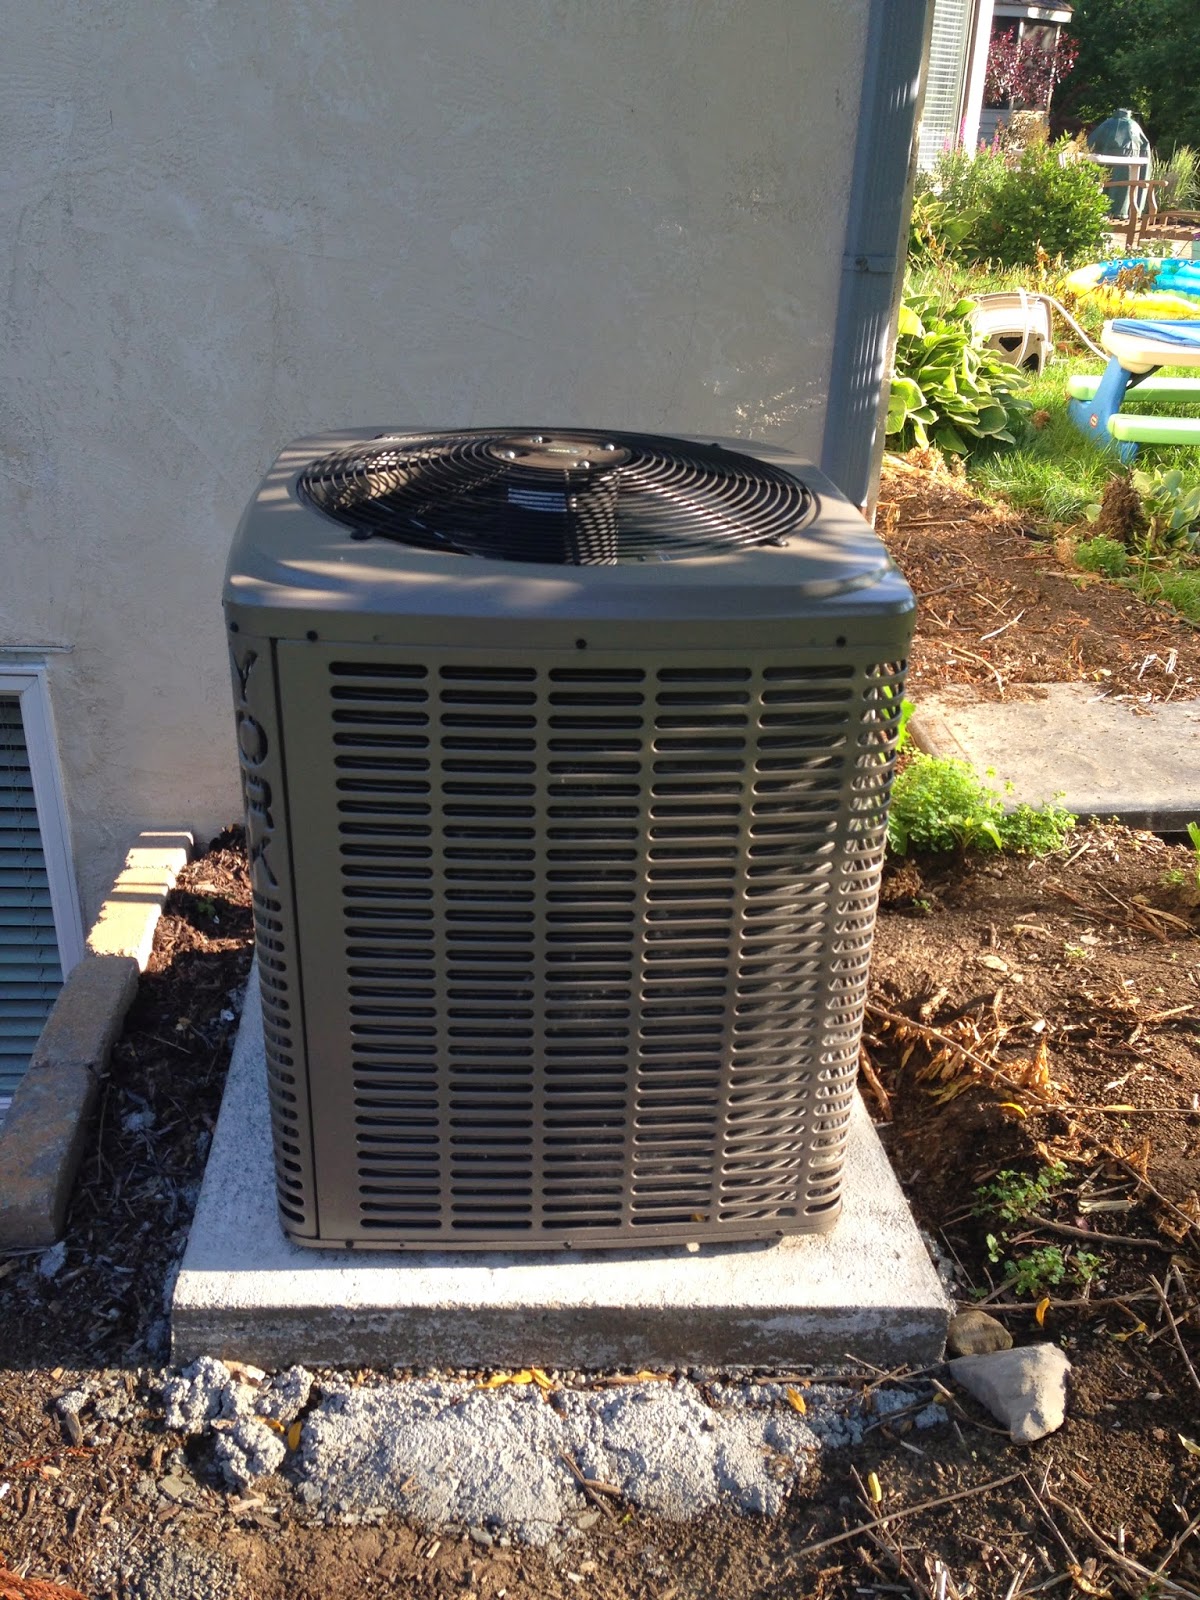
The second thing I needed to do was relocate my AC compressor. I hired an HVAC company to come and move the unit. I poured a new concrete pad and they came and moved the unit and also installed new line sets to the new location. Here are some pics:
In the next post I will get into the addition excavation and footer installation.
Thanks for reading.
Thanks for reading.


